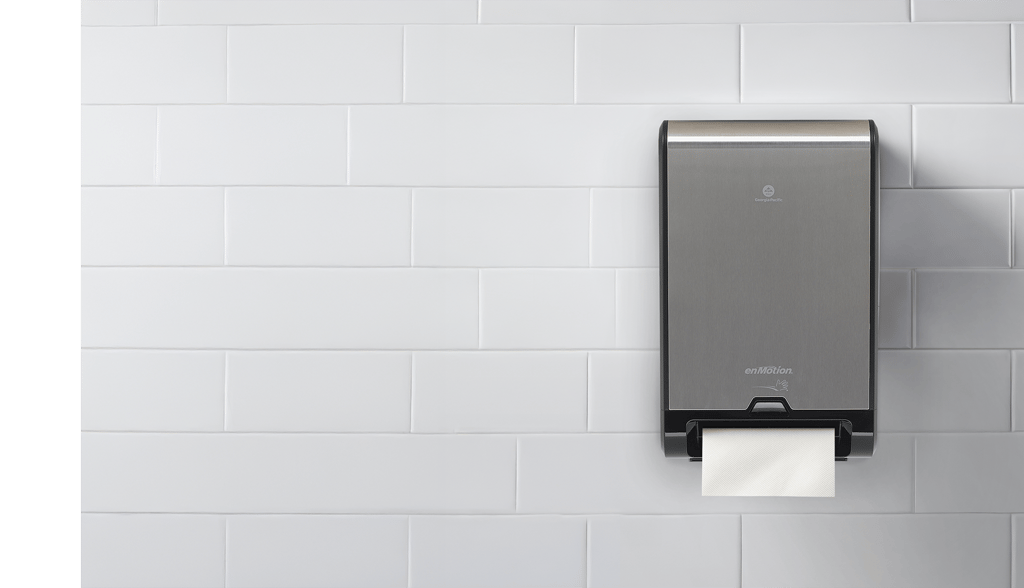



Wall Mounting Your Dispenser
Step 1
This dispenser is designed so that about 1/2 (~4”) of the dispenser sits inside of the wall while the other half (~4”) protrudes from the wall.
This allows the dispenser to comply with ADA guidlines if installed correctly. Compliance is the responsibility of the installer.
Step 2
If installing directly to a wall, a hole 20.4” x 10.5” must be cut into your wall to accommodate the dispenser.
Before cutting your hole be sure to consider stud location inside the wall so that the dispenser can be inserted without obstruction.
Step 3
Insert the dispenser into the hole and secure the dispenser into place by using four wall appropriate screws (not included) to mount the dispenser to the wall studs to the left and right of the dispenser.
Ground Clip
Notice the metal static ground clip on the back of the dispenser. This must be in contact with the wall or the dispenser will not operate correctly and damage could occur.
Push Button Install
Push Button Lock
Lock option that open when pushed. No key required to open dispenser.
Key Lock
Lock option that requires the key to open the dispenser
Step 1
Locate the lock on the top of the dispenser cover
Step 2
Push both sides of the push plate and remove it by sliding it out.
Step 3
Remove the key lock by gently pushing it out of the key hole on the cover.
Step 4
Add the push button lock by popping it into the key hole on the cover.